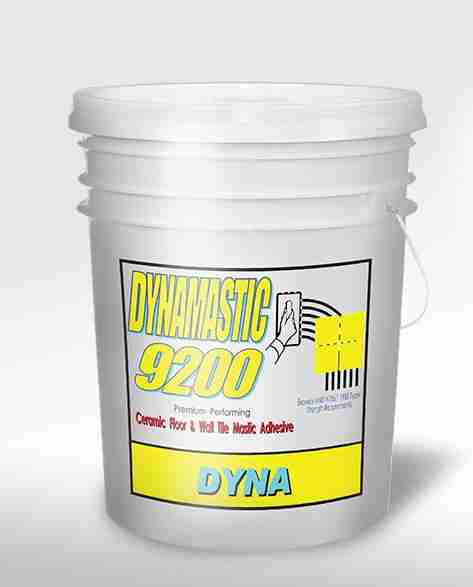
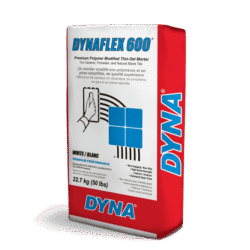
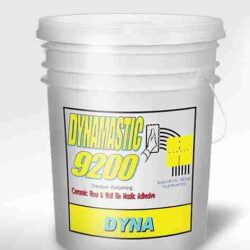
DYNA® DYNAMASTIC 9200 is a solvent-free, water-based, non-flammable premium performance Type I ceramic floor and wall tile mastic adhesive. It exhibits long open time, high tack and high sag resistant. It has a high bond strength, high flexibility and is highly water resistant.
RECOMMENDED SURFACES

1. To be used on smooth interior surfaces such as gypsum wallboard (To improve adhesion prime with DYNACRETE 5220), cement or gypsum plaster, cement backerboard, smooth fully cured concrete, masonry block, cement mortars and leveling coats.
2. It can be used for residential floors and countertops in dry areas over EXTERIOR grade Douglas Fir plywood conforming to U.S. Product Standard PS 1.83 and A.P.A. Classification Group 1, C.C. plugged or better or CSA-0121 Standard Exterior Select or (SEL –TF) according to COFI classification.
DIRECTIONS
A. SURFACE PREPARATION
1. All substrates must be to the recommended tolerances of ANSI A-3 “General Requirement For Tile Installations” and ANSI A108.4 for organic adhesive installations.
2. The substrates must be structurally sound, solid, stable, dry, clean and free of grease, oil, paint, dust, tar, wax, curing agent, primer, sealer, or any other substances which may prevent or reduce the adhesion of this product.
3. Cementitious surfaces should be clean and free of any form oil, curing compounds, and laitance.
4. Painted surfaces must be completely sanded, scrapped, or chipped to promote adhesion.
5. Ceramic, porcelain tile and natural stone installations require a substrate deflection rating of at least L/360. Natural stone tile that is 12” x 12“ (300 mm. x 300 mm.) or larger, require a substrate deflection rating of at least L/720.
6. Surfaces may be cleaned with a DYNA brand of cleaner then thoroughly rinsed and neutralized..
B. MIXING
DYNAMASTIC 9200 is ready to use. There is no mixing required. Open the container and use as required.
C. APPLICATION
1. Use of a recommended notched trowel with adequate depth to achieve a 100% adhesive contact, after beat-in, to the back of the tiles is recommended.
2. Using the flat edge of the trowel, spread a thin coat over the substrate.
3. Then apply additional material and comb the adhesive with the notched side of the trowel. Cover surface uniformly without bare spots, with sufficient adhesive to insure a minimum wet film thickness of 1/32 “ between the tile and the substrate after the tile has been beaten into place.
4. Spread only as much adhesive as can be covered with the tiles within 30 to 40 minutes. Otherwise a film or skin may form on top of the adhesive and proper adhesion will not be achieved. Remove any adhesive that films or skins over and apply fresh adhesive.
5. Place the tiles firmly into position into the wet adhesive with a slight twisting motion insuring adhesive contact with the tile while maintaining accurate joint alignment and spacing.
6. Thoroughly beat all tiles into place with a beating block to obtain maximum contact of the adhesive on the back of each tile. As an alternate push tiles back and forth in a vertical and horizontal direction so that maximum contact is achieved.
7. Remove any excess adhesive from the joints to ensure that a minimum of 2/3 of the joint depth is open for grouting.
8. Make all your alignments and adjustments before 30 to 40 minutes or before the adhesive begins to firm up.
9. Periodically remove and inspect a tile to ensure that maximum contact has been achieved.
10. Clean adhesive and smudges from the face of the tiles with water while adhesive is still fresh.

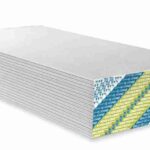 Drywall
